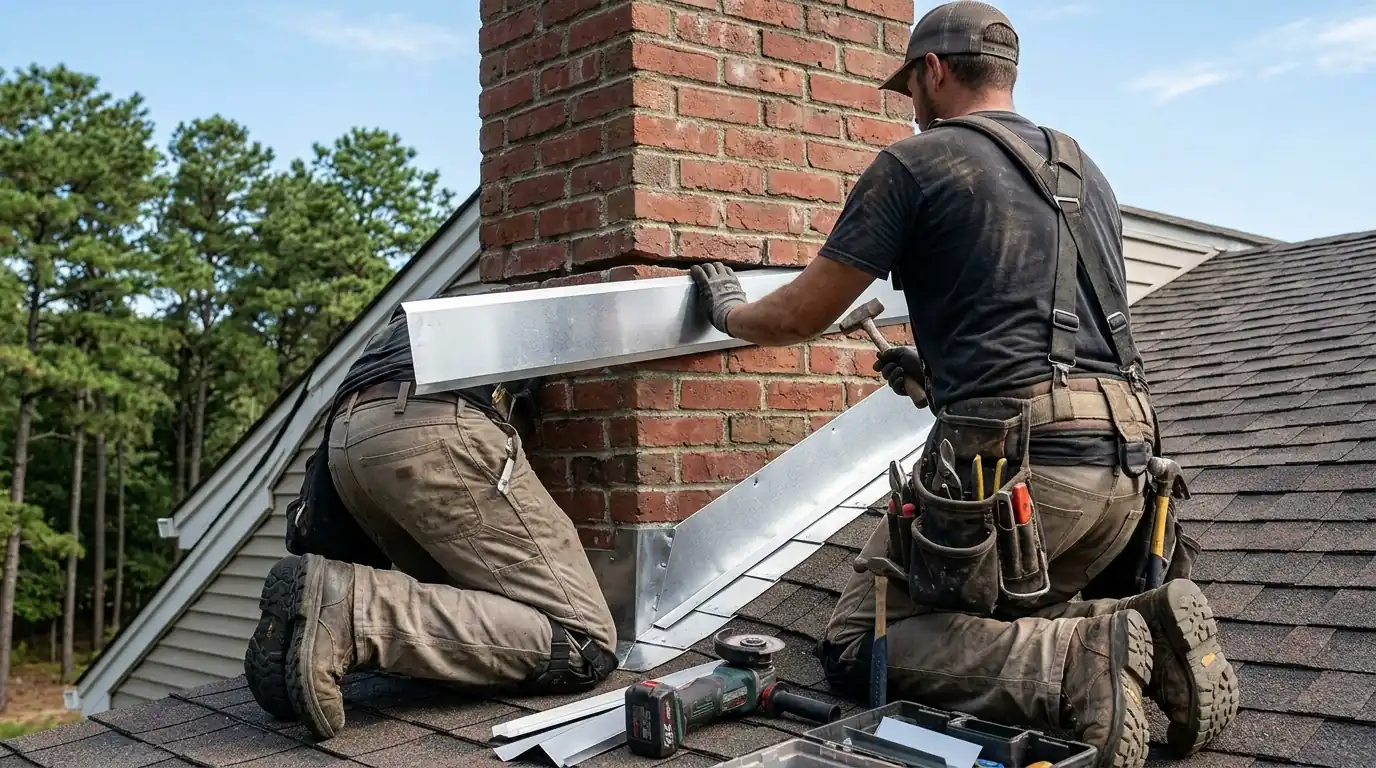
Most chimney leaks in Toms River come from failed step flashing along the sides, counter flashing pulled loose from the mortar, a missing cricket behind a wide chimney, or a cracked crown on top. The lasting repair replaces the metal in proper laps and cuts counter flashing into the mortar joints. Call (732) 419-1462 and we'll find which part is letting water in.
Signs the trouble is at your chimney, not the field of the roof
A chimney leak has a few telltale patterns. If any of these sound familiar, the flashing is the first place we'd look.
Stains on the wall or ceiling beside the chimney
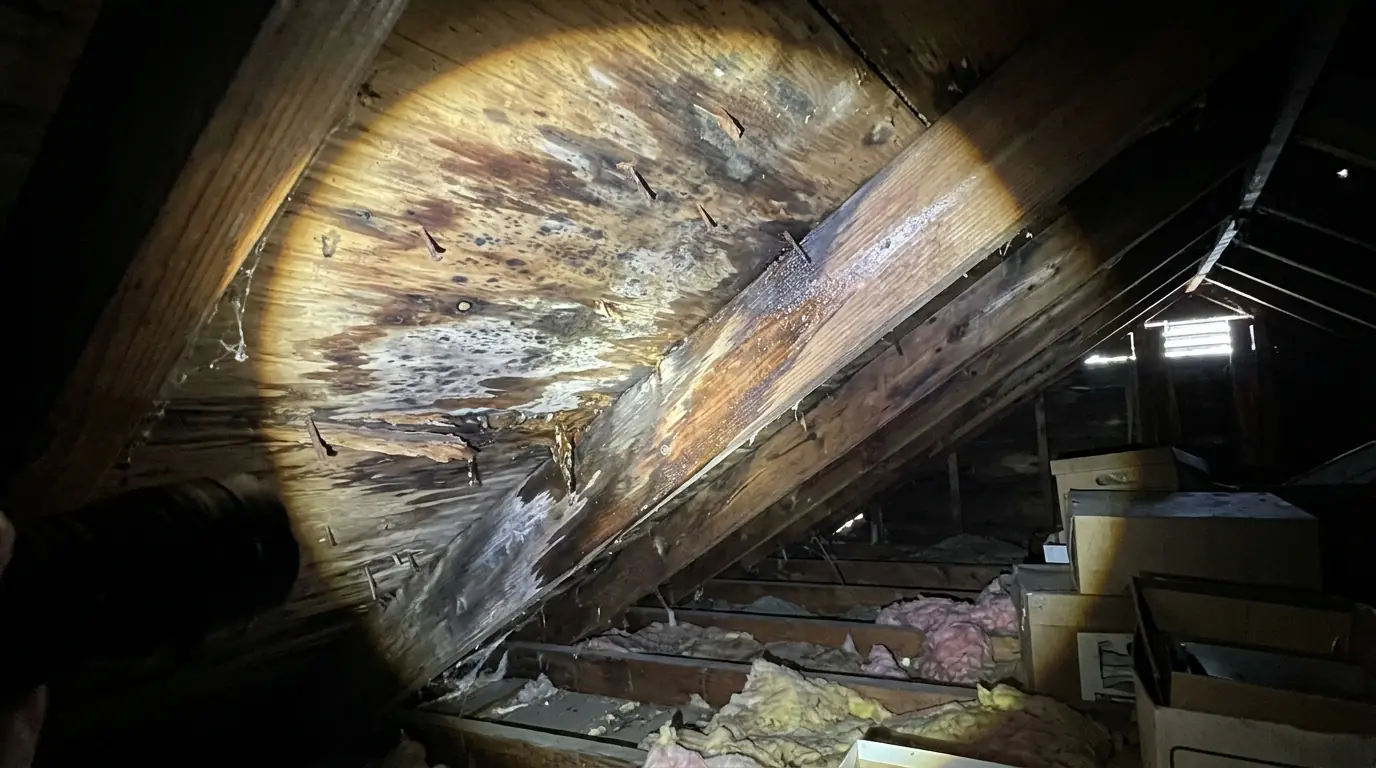
Water that gets past the flashing runs down the framing around the chimney chase. It usually shows on the ceiling or on the wall right next to the fireplace breast.
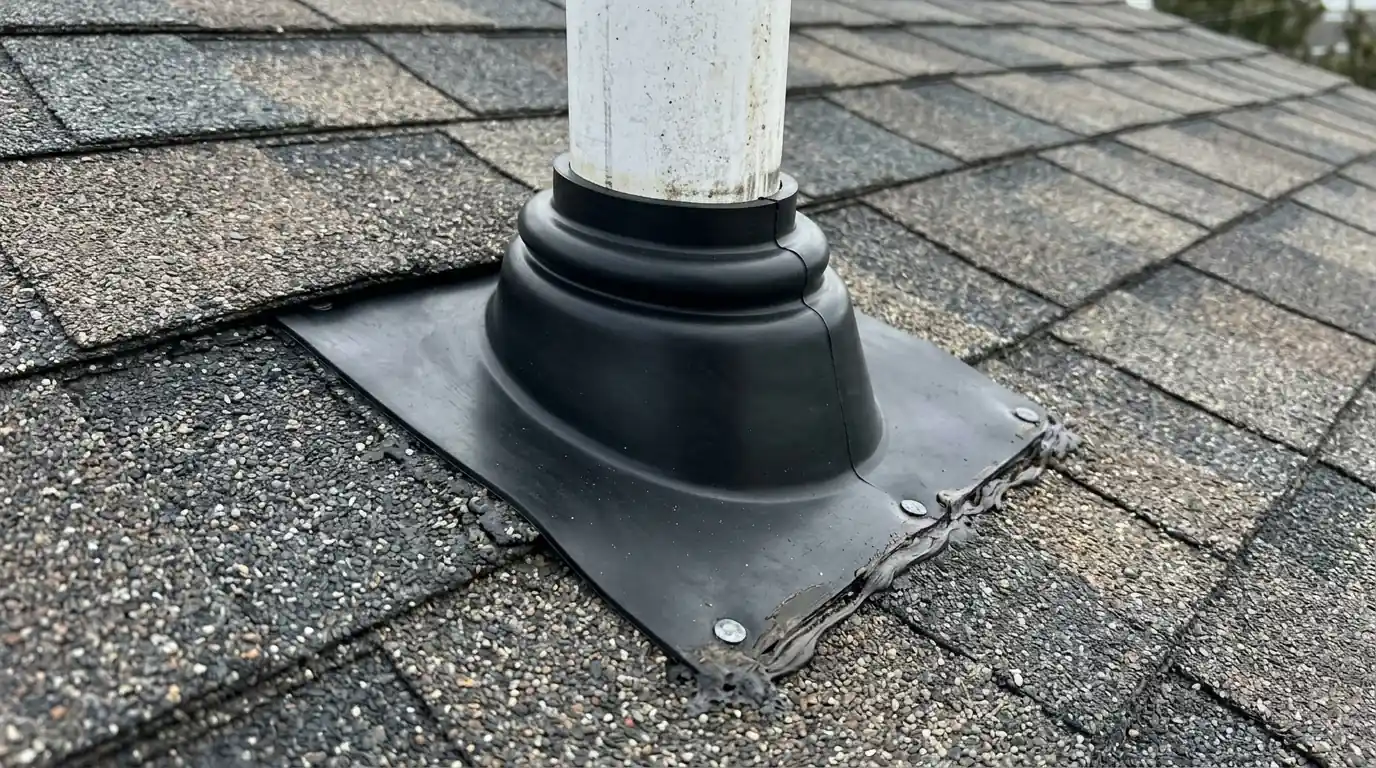
Thick tar or caulk smeared on the metal
Layers of black roofing cement mean someone has patched this joint before. Sealant over flashing cracks as the brick and roof move, and it often traps water behind it.
Counter flashing pulled out of the brick
The top edge of counter flashing should sit tucked into a mortar joint. When the mortar erodes, the metal pulls away and leaves a gap that wind-driven rain walks right into.
Debris piling up behind the chimney
Pine needles and leaves collecting on the uphill side of a wide chimney mean water is pooling there too. That spot needs a cricket to split the flow around both sides.
Cracked or crumbling chimney crown
The concrete cap on top of the chimney sheds rain off the masonry. Cracks let water into the brick, where it soaks down and comes out below the flashing line.
Rust streaks below the metal
Orange streaks running down the shingles below the chimney point to old steel flashing rusting through, common on homes near salt air where galvanized metal breaks down sooner.
Which part of the flashing does what
Chimney flashing is a system of separate pieces. Knowing what each one does helps explain why a single tube of sealant rarely fixes the problem.
| Piece | Where it sits | What goes wrong |
|---|---|---|
| Step flashing | Woven under each shingle course along the sides of the chimney | Rusts, gets too short, or was face-nailed through and leaks at each nail |
| Counter flashing | Cut into the mortar joints and lapped down over the step flashing | Mortar erodes, the metal pulls loose and water runs behind it |
| Apron flashing | Across the downhill face of the chimney, over the shingles below | Lifts at the corners or was never bent tight to the brick |
| Cricket or saddle | A small peaked roof behind the chimney on the uphill side | Missing on wide chimneys, so water and needles dam up against the brick |
| Crown and cap | Concrete crown on top of the chimney, cap over the flue | Crown cracks let water into the masonry, and a missing cap lets rain down the flue |
How we rebuild a leaking chimney joint
This is the sequence for a full reflash on a typical brick chimney, done from the roof with the shingles around it carefully opened.
Open the shingles around the chimney
We release the courses on both sides and below, remove the old step and apron flashing and scrape off any roofing cement. That shows the deck condition and how far water has traveled.
1 to 2 hoursRepair the deck and add underlayment
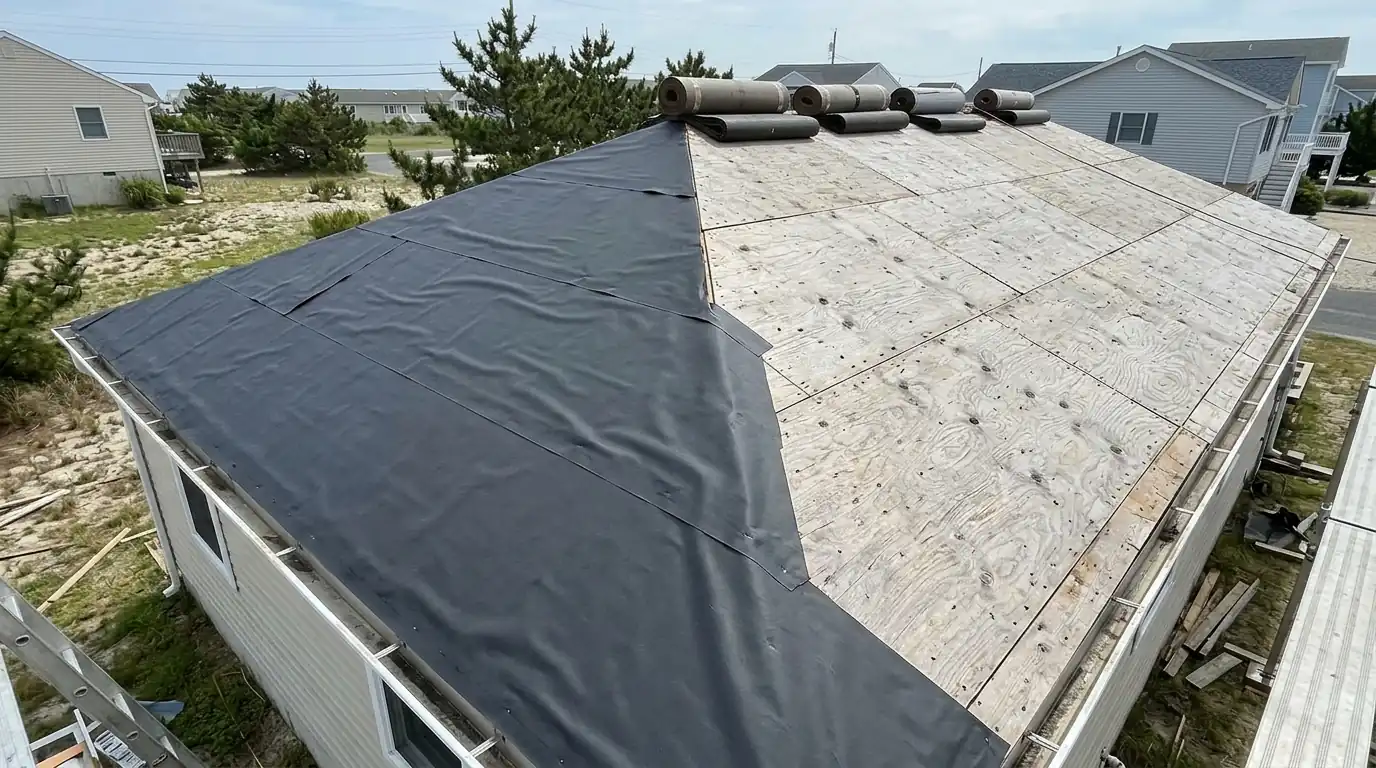
Soft or stained sheathing around the chimney gets replaced. We then lap self-adhered membrane up the brick and onto the deck, which gives a second line of defense under the metal.
1 to 3 hoursBuild the cricket where needed
On wide chimneys, we frame a small saddle behind the brick, sheath it and cover it with membrane and metal or shingles, so water splits around the chimney instead of pooling.
2 to 4 hoursWeave in new step and apron flashing
Each step flashing piece is set with one shingle course and fastened to the deck only, never to the brick. Aluminum or copper holds up better than galvanized steel on the shore.
1 to 3 hoursCut reglets and set counter flashing
We grind a clean groove into the mortar joints, bend counter flashing into it and lap it over the steps. A flexible masonry sealant closes the reglet without carrying the whole load.
1 to 2 hoursCheck the crown and cap
Small crown cracks get sealed with a crown repair product. A badly broken crown or missing flue cap is noted with photos, so you can decide on that work separately.
20 to 45 minutes
What chimney flashing work costs around Ocean County
These ranges reflect typical brick chimneys on one- and two-story homes in 2026. Wider or taller chimneys and steep roofs move the number up.
| Work | Typical range | What moves the number |
|---|---|---|
| Reseal or reset loose counter flashing only | $365 to $890 | Chimney width and how many mortar joints need fresh reglets |
| Full reflash with new step, apron and counter flashing | $1,240 to $2,980 | Chimney size, metal type and the deck repair found underneath |
| Add a cricket behind a wide chimney | $860 to $2,140 | Chimney width, roof pitch and whether it's built during a reflash |
| Crown crack repair and new flue cap | $395 to $1,160 | Crown size, crack severity and the cap style chosen |
Prices depend on the chimney's size, the roof pitch and height, and the condition of the deck and mortar once the old flashing comes off; we review the scope with you on site.
Timing chimney work with the rest of your roof
If your roof is near the end of its life, reflashing the chimney now and then tearing it out again in two years wastes money. In that situation we'll usually suggest holding the flashing rebuild for the roof replacement, and doing a careful temporary repair in the meantime. On a roof with years left, a full reflash is a sound investment by itself.
Loose bricks and badly eroded mortar above the roof line go beyond flashing, and we'll show you photos so you can have the masonry repointed before we close up. Stains that turn out to come from somewhere else are traced on our leak repair page, and regular roof tune-ups catch tired counter flashing early.
Why chimneys on Toms River homes need extra attention
Many homes built in the township from the 1950s through the 1970s have brick chimneys serving oil or gas furnaces that have since been replaced. Some of those chimneys now sit unused, uncapped and slowly drying out, and their original galvanized flashing is well past its useful life. Capes and colonials often have wide fireplace chimneys on a gable end or mid-roof, which collect pine needles behind them unless a cricket is in place.
Salt air from Barnegat Bay and the ocean speeds up rust on steel flashing, especially in sections near the water like Silverton, Shelter Cove and Ortley Beach. Freeze and thaw cycles in winter work water into hairline crown cracks and loosen mortar joints. Nor'easter rain hitting the chimney sideways then finds every weakness. Choosing aluminum, copper or coated metal for the new flashing makes a real difference in how long the repair lasts here.
Where we do this work most
We work across all of Toms River (08753, 08755 and 08757) and these neighboring towns every week, along with the rest of Ocean County and southern Monmouth County.
- Silverton, Toms River08753
- Pleasant Plains, Toms River08755
- West Dover, Toms River08755
- Ortley Beach, Toms River08751
- Lakewood08701
- Brick08723
- Jackson08527
- Howell07731
- Manchester08759
- Berkeley Township08721
- Lacey Township08731
- Stafford Township08050
- Barnegat08005
- Wall Township07719
- Freehold07728
- Point Pleasant08742