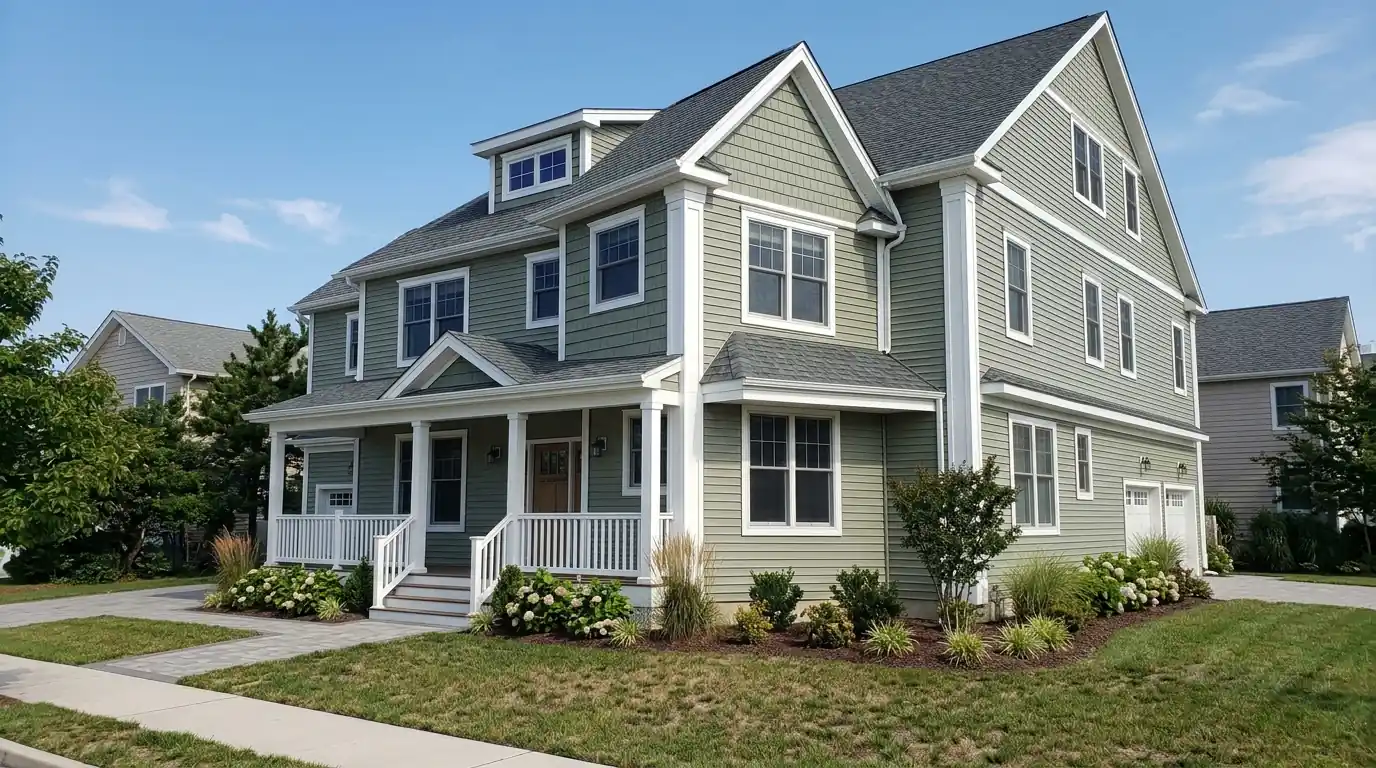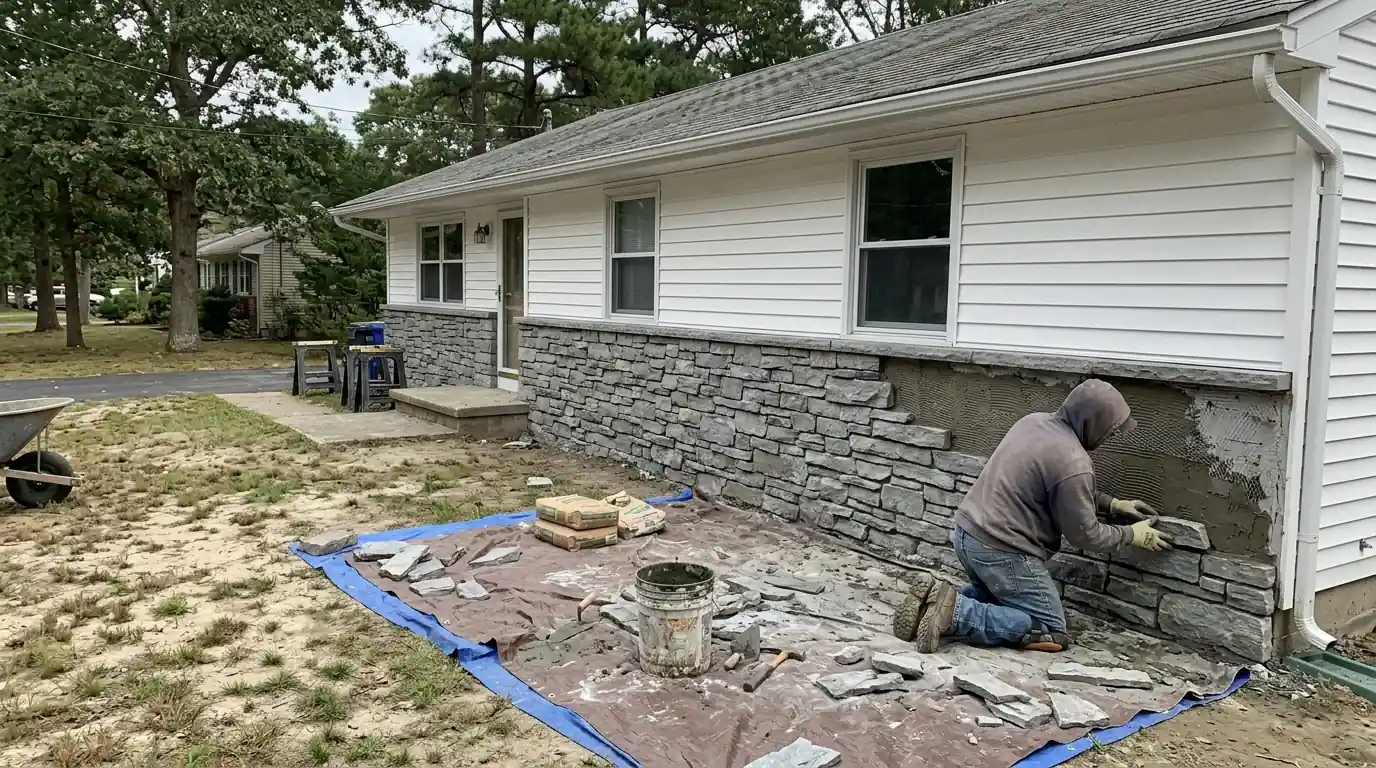
Manufactured stone veneer is a sound choice for accents on Toms River homes when it's installed over a drainage layer with a weep screed at the bottom. Most homeowners use it on the lower front wall, around a chimney or on porch columns, paired with vinyl or fiber cement above. The look lasts; the risk is hidden moisture, which careful detailing prevents.
Where stone looks right on a shore-area house
Stone works best as a supporting feature rather than the whole house. These are the placements we install most.
Front wainscot
A stone band about knee to waist height across the front elevation grounds a ranch or colonial visually. It also takes the splash and mower knocks that wear siding near the ground, as long as it stays clear of soil.
Chimney chase fronts
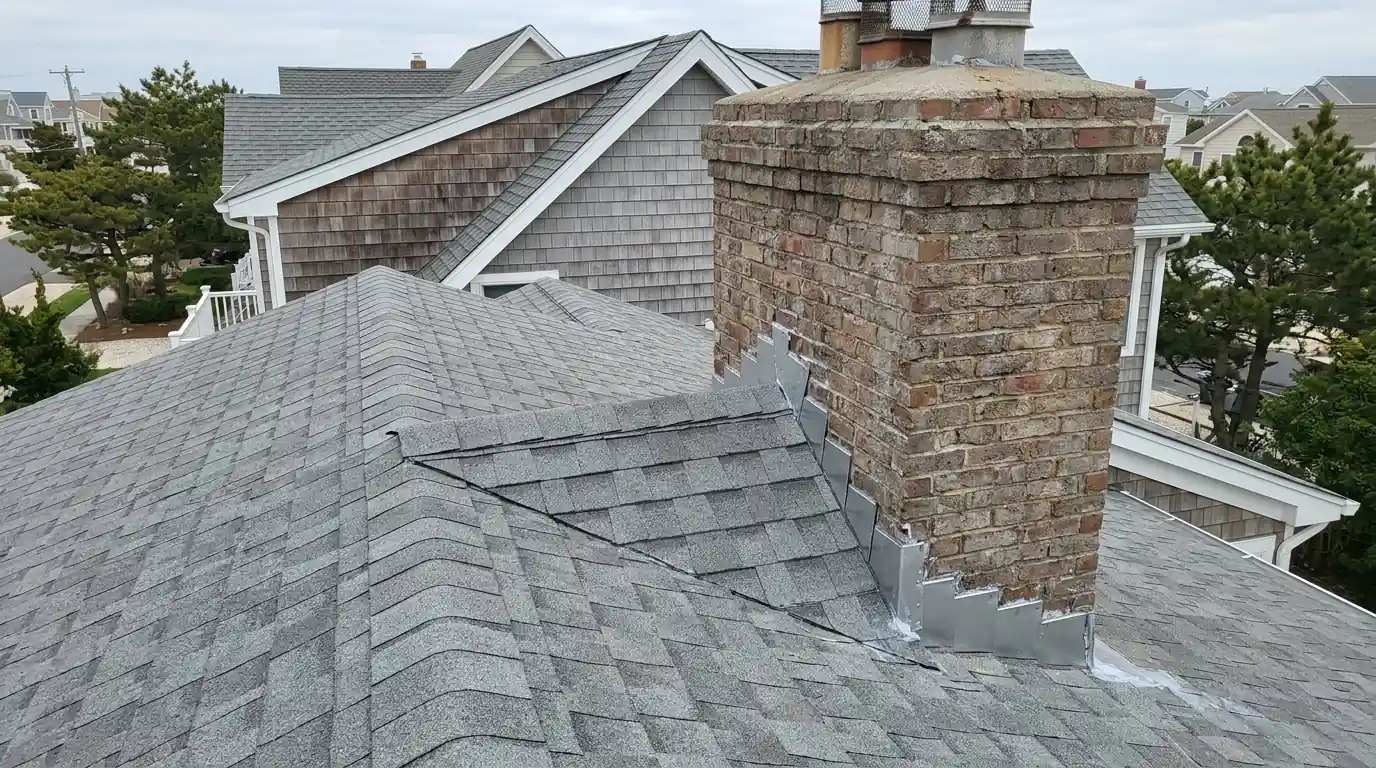
Wrapping a sided chimney chase in stone gives it the look of masonry without the load. We tie the stone into the chimney flashing and cap details so the roof line stays watertight.
Porch piers and column bases
Stone-clad piers under porch columns add heft to entries on capes and colonials. We build the core, wrap it in lath and stone, then cap it so water sheds off instead of soaking into the top.
Garage fronts and entry walls
Stone between garage doors or around the front door creates a focal point with modest square footage, which keeps cost in check while changing how the house looks from the street.
Foundation walls on raised homes
On elevated homes, stone on the enclosed foundation wall can soften a tall, bare base. We work around access doors and leave every flood vent fully open and unblocked.
Stone veneer profiles and how each one behaves
The style you pick affects mortar work, cost and how forgiving the wall is. Makers such as Eldorado Stone and Cultured Stone offer all of these looks.
| Profile | Look | Install notes |
|---|---|---|
| Ledgestone or stacked stone | Thin, long horizontal pieces with tight joints and strong shadow lines | Popular for contemporary and coastal looks; needs careful leveling, since any wavy course shows |
| Fieldstone and river rock | Rounded, irregular stones with wider grout joints | Forgiving on uneven walls; uses more mortar and feels rustic and traditional |
| Cut or ashlar stone | Squared blocks in random sizes, like dressed limestone | Looks stately on colonials; needs more cutting and steady joint widths |
| Panelized stone systems | Interlocking panels screwed to the wall over a drainage layer | Faster on simple walls; corners and trim transitions need planning to hide panel edges |
How we build a stone veneer wall that drains
Most of this work disappears once the stone is up. The steps follow the layered approach stone manufacturers publish for adhered veneer.
Remove siding and inspect sheathing
We take off the siding where stone will go and check the sheathing for rot, especially along the bottom plate. Soft wood gets replaced now, since there's no easy access once stone covers it.
Day 1, morningTwo water barriers and a drainage gap
Two layers of weather barrier, or one layer plus a drainage mat, go on shingle-lapped and tied into window and door flashing. That gap is the rainscreen that lets water reaching the back of the stone run down and out.
Day 1Weep screed and lath
A weep screed at the base gives water an exit and holds the stone up off grade and paving. Corrosion-resistant metal lath gets fastened into the studs and lapped so the mortar has something solid to grab.
Day 1 to 2Scratch coat and cure
A scratch coat of mortar is troweled over the lath and raked so the stone bond has tooth. It needs time to firm up, and in cold or very hot spells we plan around temperatures so the mortar cures properly.
Day 2 to 3Set the stone and point the joints
Each piece is back-buttered and pressed into place, working from corners outward with pieces sorted for color and size. Joints get pointed and tooled to suit the style, and mortar smears come off before they set.
2 to 4 daysFlash the top and transitions
Where stone stops and siding starts, we install a sill or cap with flashing so water runs over the stone face instead of behind it. Then we seal around hose bibs, lights and outlets and clean the site.
Final day
What stone veneer costs on a Toms River home
Stone is priced by area, with corners and caps adding to it. These are 2026 planning ranges, not a quote.
| Work | Typical range | What moves the number |
|---|---|---|
| Manufactured stone veneer with drainage layer, installed | $29.40 to $48.70 per sq ft | profile, corner pieces, wall height, joint style |
| Front wainscot on a typical ranch or colonial | $4,180 to $9,650 | length of the front wall, outside corners, cap or sill choice |
| Wrapping a sided chimney chase | $6,850 to $15,300 | chase height, roof pitch, staging, flashing at the roof line |
| Pair of stone porch piers | $2,460 to $5,780 | pier size, cap stones, rebuilding a soft core |
| Tearing off failed stone and rebuilding the wall | $3,720 to $12,900 | how far rot has spread, sheathing and framing repairs |
Your price depends on the stone line, the wall's condition behind the siding and access, so we measure and look before putting a number on it.
Why stone walls rot from behind, and what that looks like
Stone and mortar are porous. Rain soaks into the face, and on a wall facing a nor'easter some of that water reaches the back of the veneer. With no drainage gap and no weep screed, it sits against the sheathing with nowhere to go. Over a few years the plywood softens, the bottom plate rots and the stone can start to loosen or bulge.
The warning signs are easy to miss: white mineral staining that keeps coming back, dark damp patches that linger after rain, mortar cracking at the base, or stone set right down into a garden bed. Inside, you might notice musty baseboards or soft drywall along that wall. We can probe or open a small area to see what's happening before you commit to anything.
When stone has to come off, we save what we can, though manufactured stone rarely reuses cleanly. Most of the time we rebuild with new stone over a proper drainage system, or switch the area to siding if that's the smarter spend.
Getting stone and siding to work together
Stone almost always shares a wall with something else. Settle these points and the transition looks planned, not tacked on.
- Pick the siding color after seeing stone samples outdoors, not under store lights
- Decide where the stone stops: a sill line, the bottom of the windows or a full story
- Choose a cap or sill for the top edge so water runs off the face
- Keep the stone bottom above soil and mulch, and grade so it stays that way
- Leave room to service hose bibs, dryer vents, meters and outlets
- Match the stone style to the house: ledgestone on a contemporary, fieldstone on a cape
- Consider fiber cement or vinyl siding above for low upkeep
Stone veneer in Toms River wind, salt and winter swings
Our winters swing above and below the frost line many times, and water trapped in mortar joints expands each time it turns to ice. Add wind-driven rain off Barnegat Bay and salt air that leaves a mineral film on exposed walls, and stone here has to drain well and dry fast. That's why we never skip the weep screed or the drainage layer, even on small accent jobs.
Ranches and split-levels from the 1960s and 1970s are where a lot of stone wainscot goes, often paired with new siding to update a plain front. Owners of homes raised after Sandy often ask about stone on the tall foundation walls; we keep flood vents clear and lean toward lighter profiles so the base doesn't look top-heavy, and we keep stone well clear of the ground where storm water collects. Our guide to roof and siding on raised homes covers more of those choices.
Where we do this work most
We work across all of Toms River (08753, 08755 and 08757) and these neighboring towns every week, along with the rest of Ocean County and southern Monmouth County.
- Silverton, Toms River08753
- Pleasant Plains, Toms River08755
- West Dover, Toms River08755
- Ortley Beach, Toms River08751
- Lakewood08701
- Brick08723
- Jackson08527
- Howell07731
- Manchester08759
- Berkeley Township08721
- Lacey Township08731
- Stafford Township08050
- Barnegat08005
- Wall Township07719
- Freehold07728
- Point Pleasant08742